The curious beginner
A child wants to make something but has never used a 3D editor before.
Start with a name tag, simple creature, or tiny room built from familiar shapes. The goal is to finish one object, not master every tool.
tinkercad examplesCreative learning
Tinkercad for kids can make 3D design feel less intimidating when a young maker has a small goal, clear steps, and an adult nearby to help review sharing and privacy choices.
Keep exploring
Use the audience that fits your situation, then choose a project that matches the child’s confidence, attention span, and available support.
The real challenge
Young makers often need more than a powerful editor. They need a short route from curiosity to something visible, while adults need confidence that the activity is manageable.
A child wants to make something but has never used a 3D editor before.
Start with a name tag, simple creature, or tiny room built from familiar shapes. The goal is to finish one object, not master every tool.
tinkercad examplesA parent or mentor wants a hands-on activity that does not require advanced modeling knowledge.
Use a repeatable pattern: choose a base shape, add two details, inspect the result, and explain what each change does.
how to use tinkercadA child has an idea for a toy, sign, animal, or gadget but struggles to turn it into a plan.
Break the idea into cylinders, boxes, holes, and repeated parts. This makes creative thinking visible without demanding perfect drawing skills.
tinkercad 3d modelingA family wants to celebrate a finished model without exposing more information than necessary.
Review the project name, account details, shared link, and image background before showing the result to anyone else.
tinkercad privacyThree easy starts
A short workflow keeps the activity playful. Let the child make choices, while the adult supplies prompts rather than taking over the design.
Ask for an object that can be described in a sentence, such as “a rocket with three windows.” Sketch the main parts verbally and decide what can be made from basic shapes.
Drag in a few shapes, resize them, align the parts, and use holes where needed. Pause after each change so the child can explain what happened and undo anything confusing.
Give the model a neutral project name, check that no personal details appear in the design or screenshot, and share only through an adult-approved route.
Visible progress
The strongest early result is not technical perfection. It is a model the child can describe, revise, and feel proud of completing.
Keep the first output simple enough to explain.
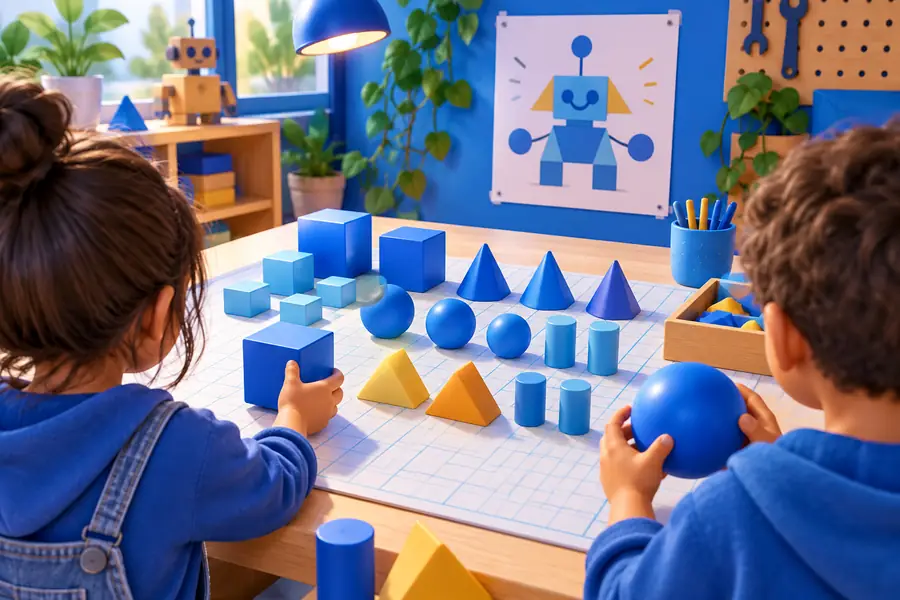
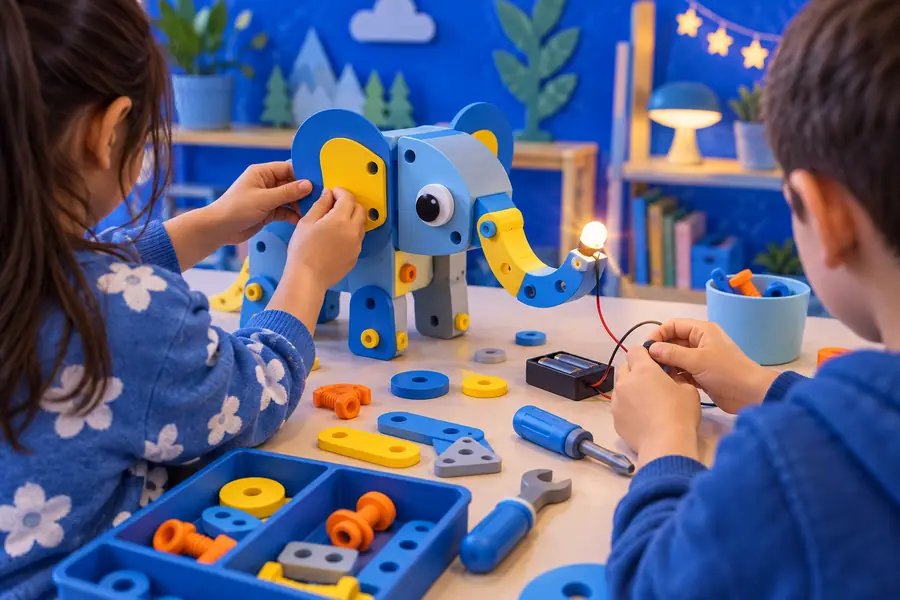
Adult guardrails
Tinkercad can support creative practice, but the software does not replace supervision, judgment, or a conversation about sharing online.
A familiar interface does not guarantee that every message, shared project, or external link is appropriate for a child.
WorkaroundAn adult should stay involved when a child shares work, joins a class space, or follows links outside the activity.
A model, username, screenshot, or project title may reveal information even when the design itself looks innocent.
WorkaroundUse a nickname where appropriate and inspect titles, backgrounds, comments, and links before publishing.
A child may copy steps without understanding how shapes, alignment, grouping, and scale work together.
WorkaroundAsk the child to predict each change and describe the finished object in their own words.
Younger children may need help with reading, navigation, account decisions, and frustration during a tutorial.
WorkaroundChoose short sessions, model one action at a time, and stop before the activity becomes overwhelming.
Practical comparison
Both modes can be valuable, but they serve different moments. Start with structure when confidence is low, then loosen the brief as the child begins making independent choices.
Guided project
Open exploration
Guided project
A first session or a child who wants clear instructions
Open exploration
A returning maker with an idea to test
Guided project
Demonstrate, ask questions, and review sharing choices
Open exploration
Set boundaries, then observe and encourage
Guided project
One object with three or four visible parts
Open exploration
A theme, challenge, or personal invention
Guided project
Shape basics, resizing, alignment, and confidence
Open exploration
Iteration, problem solving, and creative ownership
Guided project
Short and easy to pause after each step
Open exploration
Flexible, depending on the child’s concentration
Guided project
Adult reviews the result before any link or image is shared
Open exploration
Child participates in reviewing what is visible
Guided project
The child can explain how the model was made
Open exploration
The child can improve an idea without a full recipe
A simple rhythm
Use these checkpoints to keep a session focused without turning creativity into a test.
Scenario FAQ
These answers focus on the two questions that matter most when a young maker is starting a tutorial: how to begin and how to stay safe.
Tinkercad can be a useful supervised design environment for children, but safety depends on how accounts, sharing, links, and personal information are handled. An adult should review the current settings and stay involved with any public or classroom sharing.
Yes, a short tutorial can introduce basic 3D design through familiar shapes and a concrete project. Keep the instructions brief, let the child make choices, and explain each action instead of asking them to copy a long sequence without context.
Check the project title, username, comments, screenshots, and any visible background for personal details. Also confirm who can access the shared project and whether the chosen sharing method is appropriate for the child.
Some children may navigate simple projects independently after practice, while younger makers often need help with reading, controls, account choices, and frustration. Begin with an adult-guided session and increase independence gradually.
Choose something that can be built from a few recognizable parts, such as a name tag, tiny house, rocket, creature, or simple keychain shape. A compact project makes it easier to learn resizing, grouping, alignment, and review without overload.