Beginners
You are learning how LEDs, switches, resistors, and power connections work.
Test each connection safely and see the expected behavior before touching a breadboard.
tinkercad circuitsVirtual circuit testing
A tinkercad online simulator lets you place components, connect virtual wires, and check circuit behavior before assembling physical hardware.
Choose your workflow
A browser-based simulator is useful when you want to test an idea, teach electronics, or catch wiring mistakes without risking components.
You are learning how LEDs, switches, resistors, and power connections work.
Test each connection safely and see the expected behavior before touching a breadboard.
tinkercad circuitsYou need to check a sketch with virtual sensors, LEDs, or motors.
Validate the wiring and code together, then move to a physical board with more confidence.
tinkercad circuits for arduinoYou are planning electronics for a case, prop, or small 3D-printed project.
Confirm the circuit logic before designing the enclosure around the final components.
tinkercad for 3d printingCore workflow
Use this three-part workflow to move from a rough idea to a checked virtual circuit.
Open a new circuit, search the component list, and drag the board, power source, inputs, and outputs onto the workspace.
Connect pins carefully, check polarity, and add a code block or text sketch when the project includes a programmable board.
Run the circuit, interact with switches or sensors, and watch for expected outputs before documenting or rebuilding it physically.
Troubleshooting
Imports can fail for simple reasons. Check these issues before assuming the simulator or project file is broken.
A file from another electronics tool may not map directly to the simulator’s component library.
WorkaroundRecreate the circuit with equivalent parts and record pin names before importing anything.
A project can reference a board, sensor, or library part that is unavailable in the current workspace.
WorkaroundSubstitute a supported component and verify its voltage, pins, and behavior.
Imported-looking layouts may contain wires that stop short of a pin or connect to the wrong rail.
WorkaroundTrace power, ground, and signal lines one by one, then run the circuit again.
A sketch may use pin numbers or libraries that differ from the virtual board configuration.
WorkaroundCompare every declared pin with the simulator layout and simplify the code to isolate the mismatch.
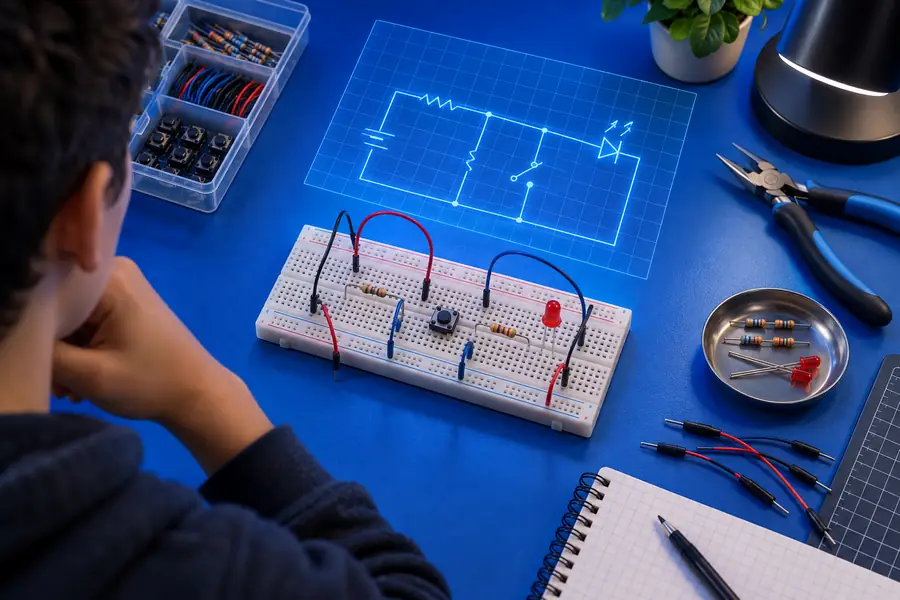
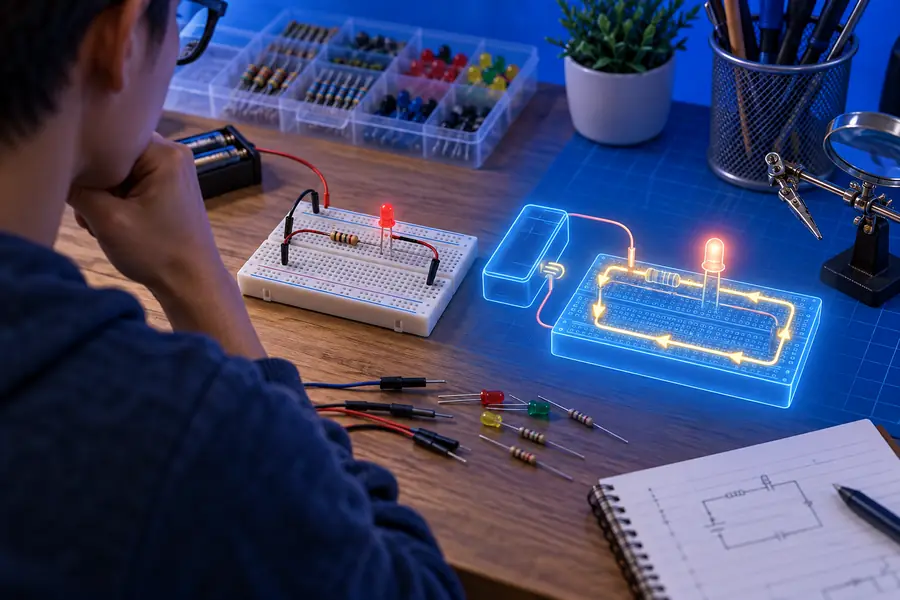
A simulation turns a static wiring plan into an observable behavior check.
Virtual simulation
Physical prototype
Virtual simulation
No physical parts are damaged by wiring mistakes
Physical prototype
Incorrect wiring can damage boards or components
Virtual simulation
Change connections and code immediately
Physical prototype
Each change may require rewiring hardware
Virtual simulation
Approximates supported components and logic
Physical prototype
Reveals actual tolerances, noise, and power issues
Virtual simulation
Useful for checking basic sketches and interactions
Physical prototype
Confirms behavior on the actual board and libraries
Virtual simulation
Runs from a compatible browser workspace
Physical prototype
Needs the board, components, and a power or USB setup
Virtual simulation
A strong planning step, not a complete hardware test
Physical prototype
Required before a finished physical project is considered reliable
Quick answers
It is used to assemble virtual electronic components, connect them with wires, and observe how a circuit behaves. It is especially useful for learning, prototyping, and checking basic Arduino projects before using physical hardware.
Yes, its Circuits workspace provides browser-based circuit simulation for supported components and boards. You can place parts, edit connections, run the circuit, and inspect the result without first building it on a breadboard.
Yes. A tutorial can guide you through placing components, wiring pins, adding code, and starting the simulation. Build one stage at a time and pause whenever the observed behavior differs from the expected result.
No. Simulation is a planning and learning aid, but it cannot reproduce every real-world issue such as electrical noise, component tolerances, heat, or mechanical fit. Test the final design on real hardware before relying on it.