Beginner tutorial

A Practical Guide to How to Use Tinkercad

How to use Tinkercad becomes much easier when you follow a repeatable sequence: choose the right workspace, build from simple shapes, check the result, and export only after the model is ready.

Free to start · no signup

Prerequisites

Before opening the editor, decide what you are making and what the finished file must do. A small plan prevents most beginner rework.

  1. 1

    Define the finished object

    Write down the object’s purpose, approximate width, height, and thickness. For a printed part, also note where it must fit and which surfaces need to stay flat.

  2. 2

    Prepare a simple reference

    Keep a sketch, photo, or measurement beside you. You do not need a complete drawing; a few dimensions and a front or side view are enough to guide the first shapes.

  3. 3

    Choose the right workspace

    Use 3D Design for solid models and assembled objects. Use Circuits when the goal is wiring, code, or simulation rather than a physical shape.

  4. 4

    Start with basic geometry

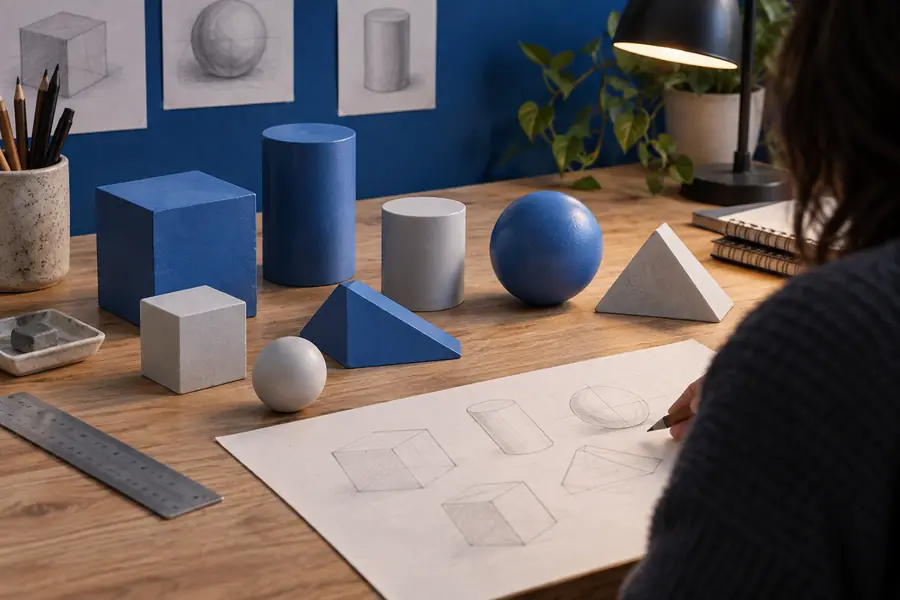
    Expect to combine boxes, cylinders, wedges, spheres, and holes. A model made from a few well-aligned solids is easier to edit than one built as a single complicated form.

Use these related guides when your project moves beyond the general modeling workflow.

Common errors and fixes

A quick comparison helps separate a rough first pass from a model that is ready to share, test, or export.

1

Shape choice

First pass

Uses basic solids without a clear role for each one.

Ready pass

Each solid has a purpose and can be edited independently.

2

Dimensions

First pass

Sizes are estimated by eye and may not fit the intended use.

Ready pass

Important widths, heights, and gaps are measured and checked.

3

Alignment

First pass

Parts appear close together but do not share a reliable center or edge.

Ready pass

Objects are aligned to a common reference before grouping.

4

Holes and cutouts

First pass

A hole may stop short, overlap incorrectly, or be too small.

Ready pass

The hole passes fully through the part and leaves enough material around it.

5

Grouping

First pass

Everything is grouped early, hiding individual mistakes.

Ready pass

Parts are checked separately before final grouping.

6

Export readiness

First pass

The model contains accidental overlaps, floating pieces, or unwanted holes.

Ready pass

The final view is inspected from several angles before export.

7

Editability

First pass

Many changes require rebuilding several connected pieces.

Ready pass

The design keeps major parts separate until the final adjustment.

Advanced tips

The fastest way to improve is to compare the first rough arrangement with a deliberate final pass. Look for structure, not decoration.

  • Rough arrangement
  • Refined model

Use the before view to find alignment, sizing, and grouping problems before adding detail.

Early Tinkercad model arrangement with simple shapes
Refined Tinkercad example with aligned and grouped geometry

Advanced tips in practice

Choose a project path that matches your goal. Each example applies the same core method while emphasizing a different kind of final check.

The first-time modeler

You want to make a small holder, badge, or nameplate from a handful of simple shapes.

Start with a box, add cylinders or text, use alignment tools, and delay grouping until the proportions look right.

how to use tinkercad for 3d printing

The electronics learner

You need to understand how components connect before building a physical circuit.

Place the parts deliberately, trace each connection, and test the behavior before changing the layout.

how to use tinkercad for circuits

The iterative designer

You are developing a part with several versions and need to compare changes without losing the original.

Duplicate the working version, make one meaningful change at a time, and keep names that explain each revision.

how to use tinkercad for 3d printing

The detail-focused builder

You have a larger object made from repeated openings, supports, or connectors.

Create one clean feature, duplicate it consistently, and inspect the final group from top, side, and angled views.

how to use tinkercad for circuits

Tutorial FAQ

These answers cover the questions beginners most often ask when learning the basic design workflow.

Begin by choosing the 3D Design workspace and placing a basic shape on the workplane. Resize it with numeric controls, add or remove shapes, align the parts, group only when the arrangement is correct, and inspect the finished object from multiple angles.

Start with one primitive such as a box or cylinder and make one small, useful object. Add a second shape, test the alignment tools, and use a hole shape when you need to remove material. This keeps the first project understandable while you learn the editor.

Use measured dimensions instead of dragging every object by eye. Set the important width, height, thickness, and spacing values first, then use alignment and duplication to keep repeated features consistent.

Keep major parts separate while you experiment, and rename or duplicate important versions before making major changes. Check the model from several viewpoints, look for floating or overlapping pieces, and confirm that every hole or opening passes through as intended.

Start creating
Start creating